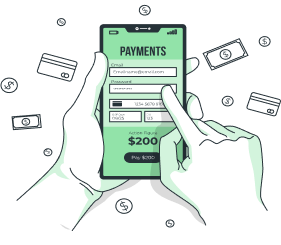
Step 1. Initiate Payment:
When the customer is ready to make a payment, they proceed to the checkout or payment page on your website or application.
Step 2. Razorpay Popup:
Upon reaching the payment section, a Razorpay popup window will appear. This is the secure payment gateway provided by Razorpay for processing transactions.
Step 3. Enter Payment Details:
The customer enters the necessary payment details, such as credit/debit card information, net banking details, or any other payment method supported by Razorpay.
Step 4. Authentication and Confirmation:
Depending on the payment method, the customer may need to authenticate the transaction through OTP (One-Time Password) or other verification methods. Once confirmed, the payment is processed.
Step 5. Order Completion:
After successful payment, the order is marked as completed, and the customer receives a confirmation of the transaction. The Razorpay popup window closes, and the customer is redirected to a confirmation page on your website or application.
Step 6. Manage Orders Section:
The order details are automatically captured by your system and sent to the “Manage Orders” section. This section is typically a part of your backend or administrative interface where you can track and manage all orders received through your platform.
Step 7. Order Information:
In the “Manage Orders” section, you can view detailed information about the order, including the customer’s name, contact details, items purchased, payment status, and any other relevant details.


