


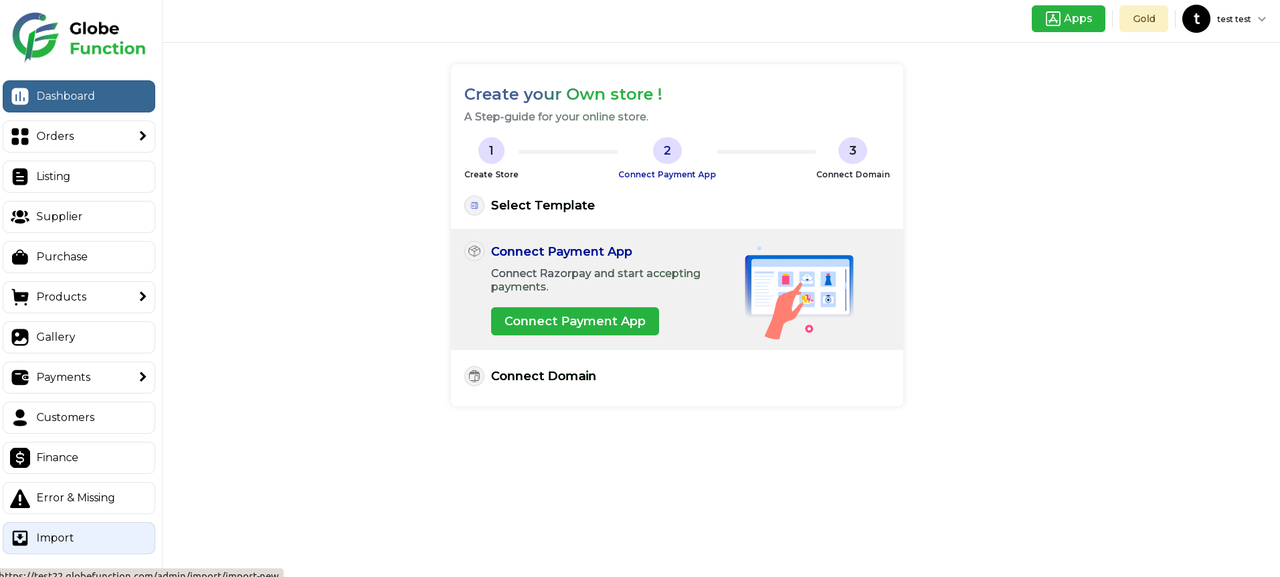
Step 1. Navigate to the Imports Section:
Access the dedicated “Imports” section in your system, where you can efficiently manage the uploaded listings. This section is designed to streamline the handling of bulk data uploads for product and store listings.
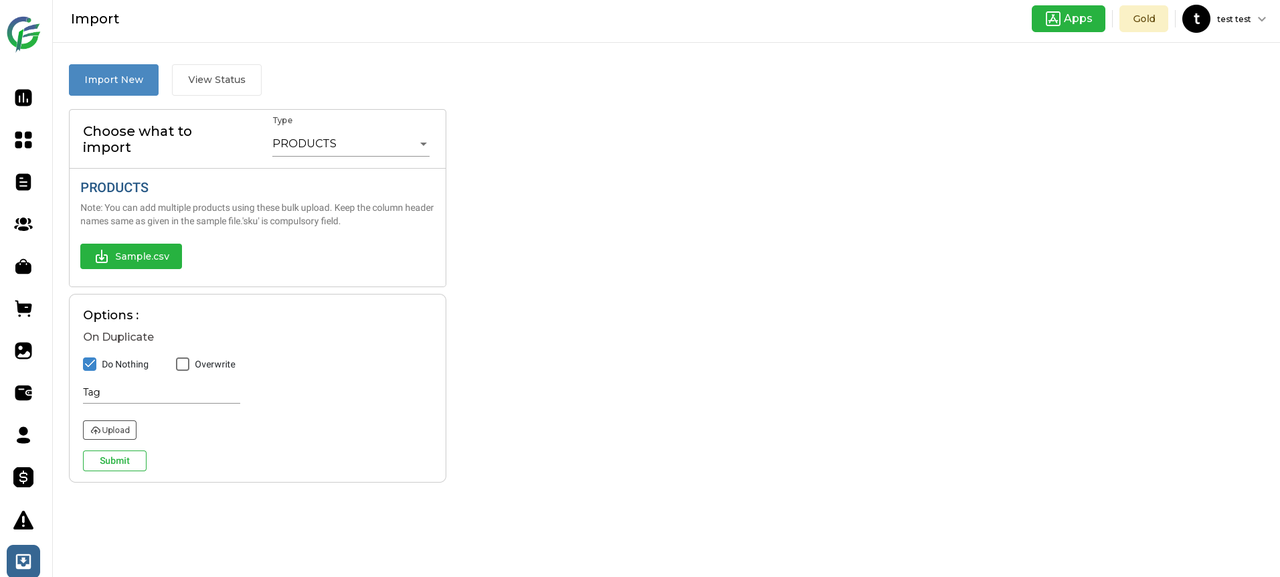
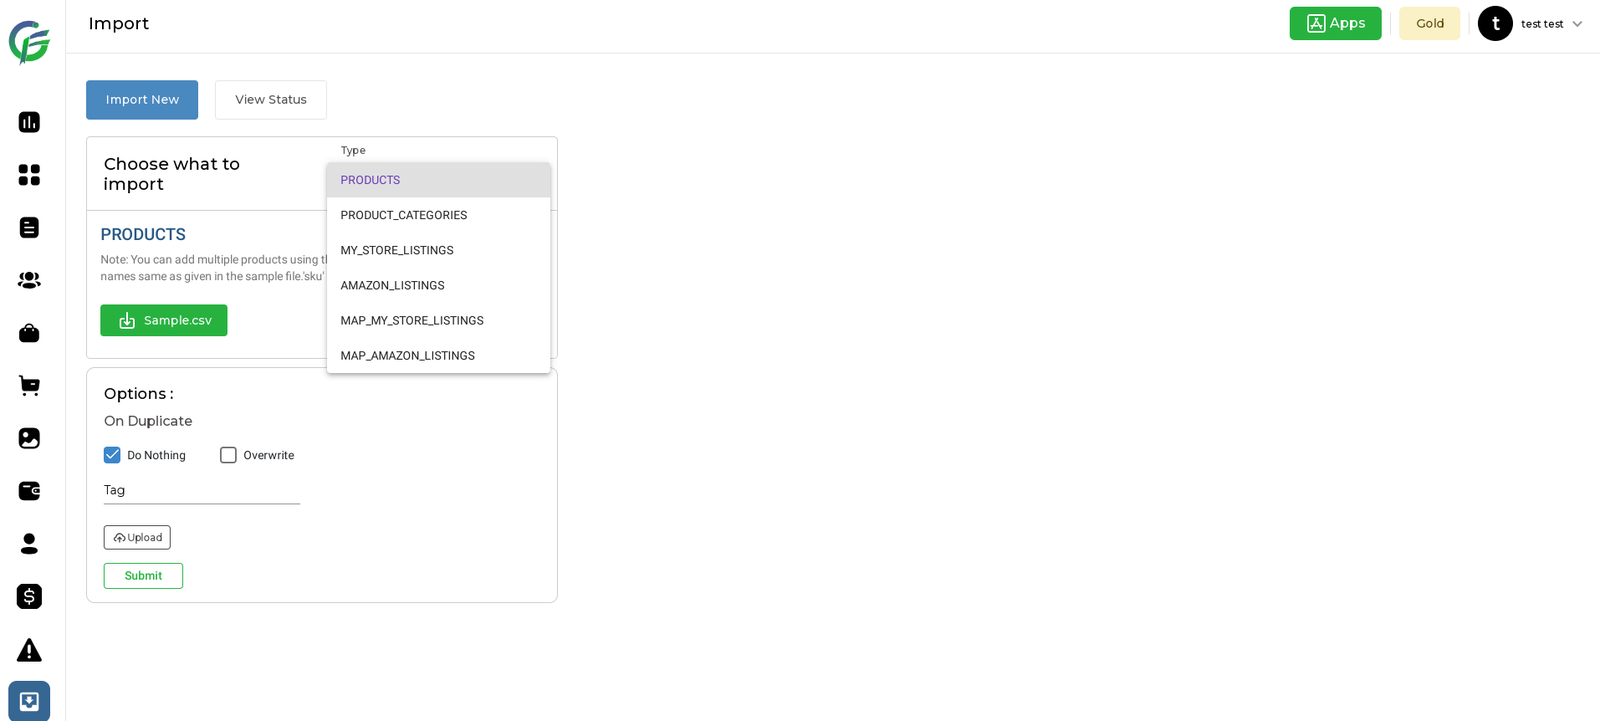
Step 2. Choose What to Import:
Step 3. Handle Duplicate Entries:
- Users are presented with options to manage duplicate entries:
- Option 1: “Do Nothing” – If selected, specific SKU-related details for duplicate entries are ignored during the import.
- Option 2: “Overwrite” – If selected, the system inserts new listings and removes previous entries for duplicated SKUs.
- Users are presented with options to manage duplicate entries:
Step 4. Add Tags for Organization:
Enhance data organization by adding tags to specific listings. Users can categorize and label listings with tags, facilitating better management and identification.
Step 5. Upload CSV File:
Users upload the CSV file containing the details of the listings they wish to import. The provided sample file serves as a template, guiding users on the fields they can add or update.
Step 6. Utilize Sample File for Guidance:
In the sample file, users can add or update listings by populating the fields provided. This ensures a standardized and error-free import process.
Step 7. Finalize the Import:
Confirm and execute the import process. The system processes the uploaded CSV file, adding or updating the listings based on the specified preferences and handling duplicate entries accordingly.
Step 8. Review Imported Listings:
After the import is complete, users can review the imported listings in the system. This step allows users to verify that the data has been accurately added or updated.


1 thought on “What are the steps to use the bulk upload?”
I happily found this incredible website a few days ago with wonderful content for readers. The site owner has a knack for engaging fans. I’m thrilled and hope they persist in creating excellent content.