Custom SMTP Support:
- Description: custome SMTP feature allows users to configure and connect their own SMTP (Simple Mail Transfer Protocol) server settings for sending emails, providing flexibility and customization in email communication.
- Benefits:
- Personalized Email Configuration: Users can tailor their email settings based on their specific custom SMTP server requirements.
- Enhanced Control: Custom SMTP support provides greater control over email delivery and ensures compatibility with various email services.
How to Connect Mailchimp:
Description: Integrating Mailchimp with custom SMTP support enables users to leverage the features of Mailchimp while still benefiting from the customization offered by their own SMTP server.
- Steps to Connect:
- Obtain Mailchimp API Key: Log in to your Mailchimp account, navigate to Account > Extras > API keys, and generate an API key.
- Access SMTP Settings: In your application, go to the Custom SMTP settings section.
- Enter Mailchimp SMTP Details:
- SMTP Server: smtp.mailchimp.com
- Port: 587 (or as per Mailchimp’s recommendations)
- Username: Your Mailchimp username
- Password: Your Mailchimp API key
- Authentication: Enable authentication and use the provided Mailchimp credentials.
- Save Settings: Save the custom SMTP settings.
- Benefits of Mailchimp Integration:
- Email Marketing Features: Utilize Mailchimp’s powerful email marketing features while maintaining control over SMTP settings.
- List Management: Seamlessly synchronize email lists and data between your application and Mailchimp.
- Automation and Analytics: Leverage Mailchimp’s automation tools and analytics to enhance your email campaigns.
- Steps to Connect:
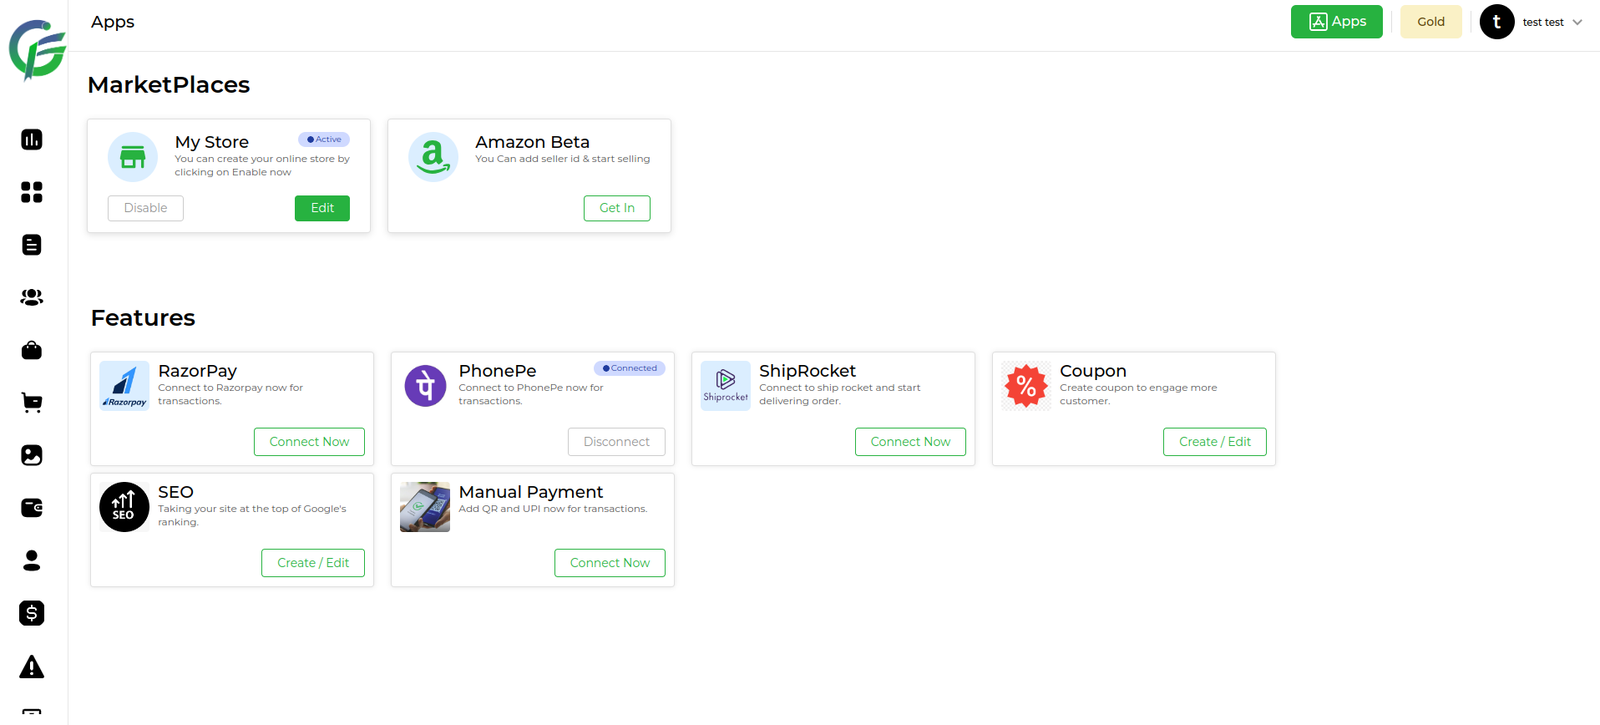
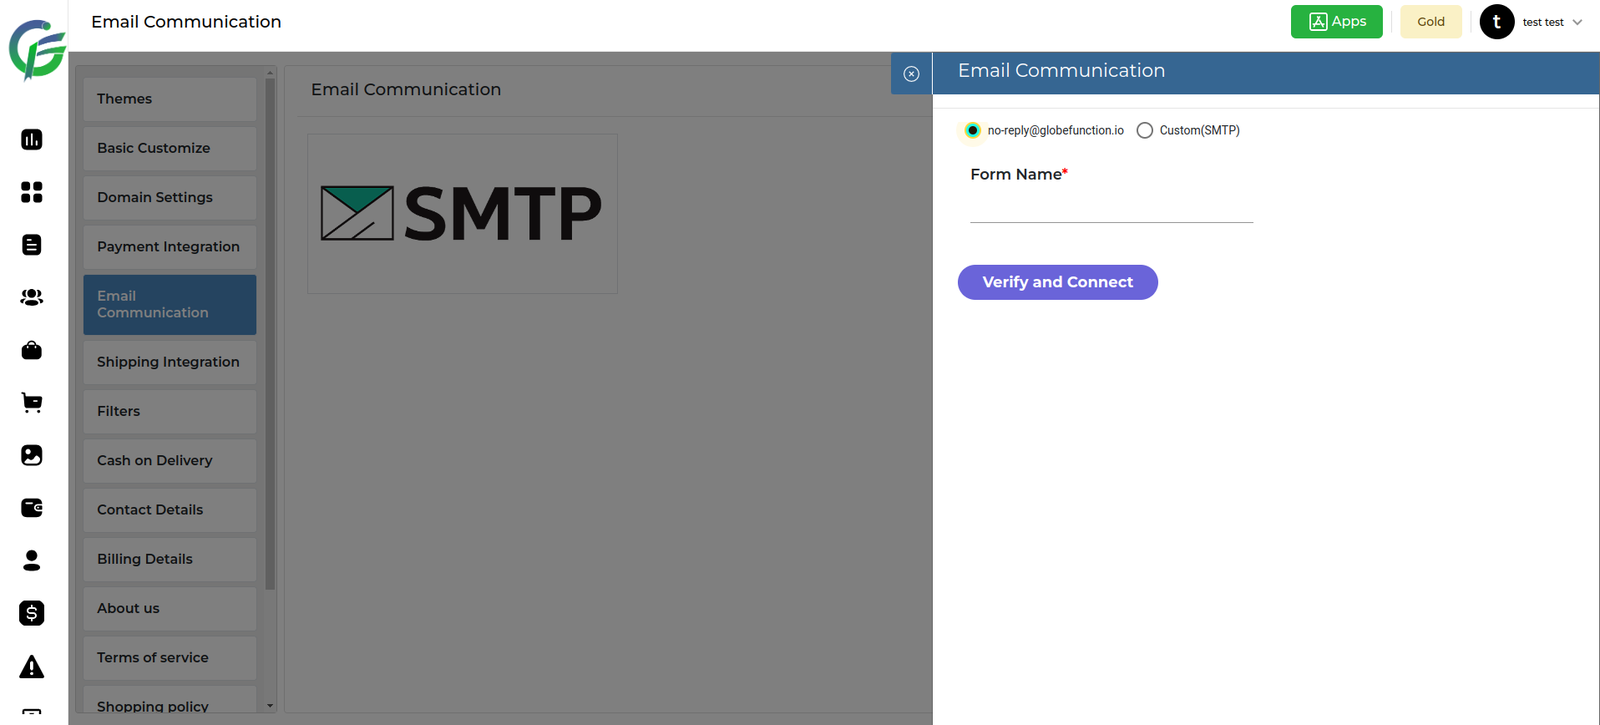
Go to the Email Communication Section.
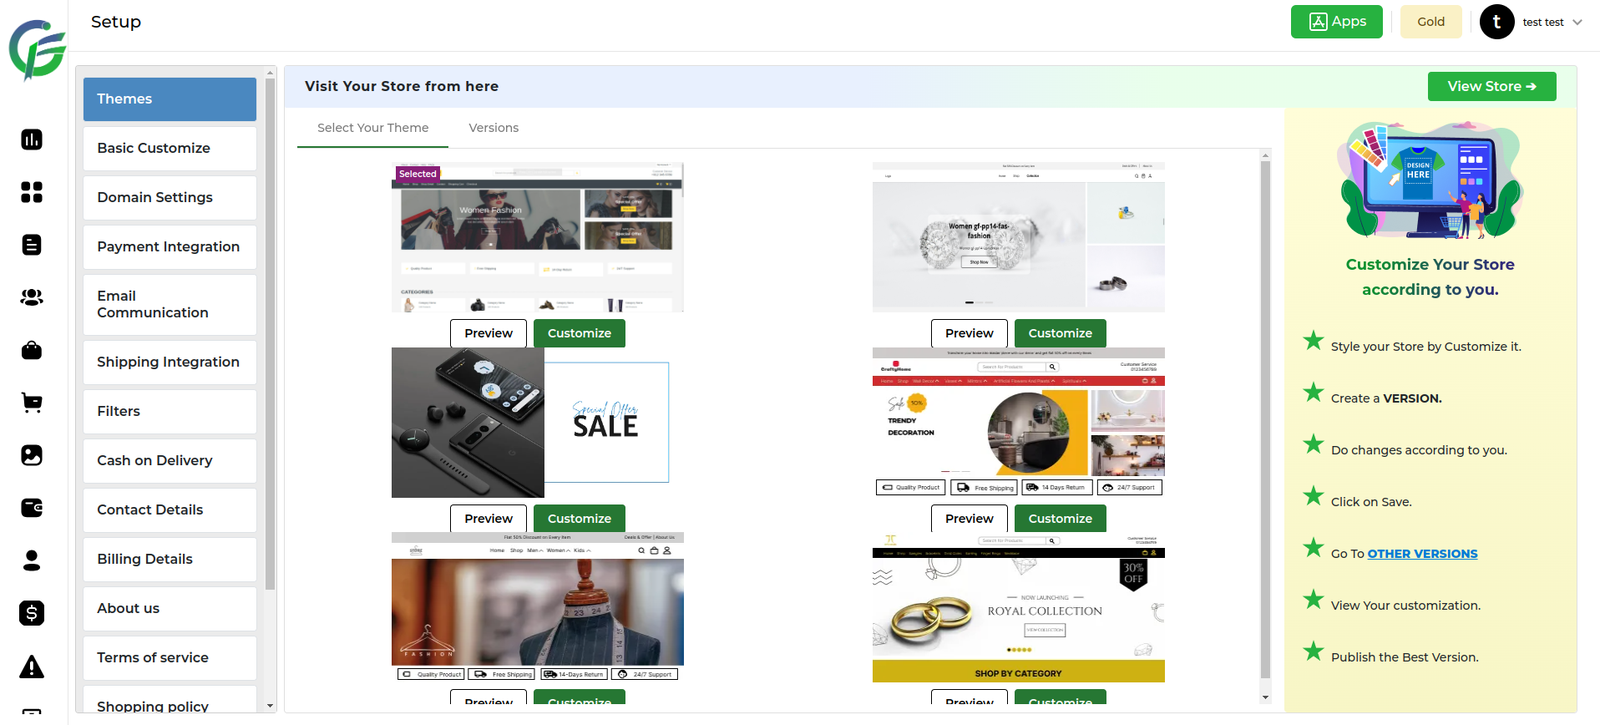
Go To the Inside SMTP.
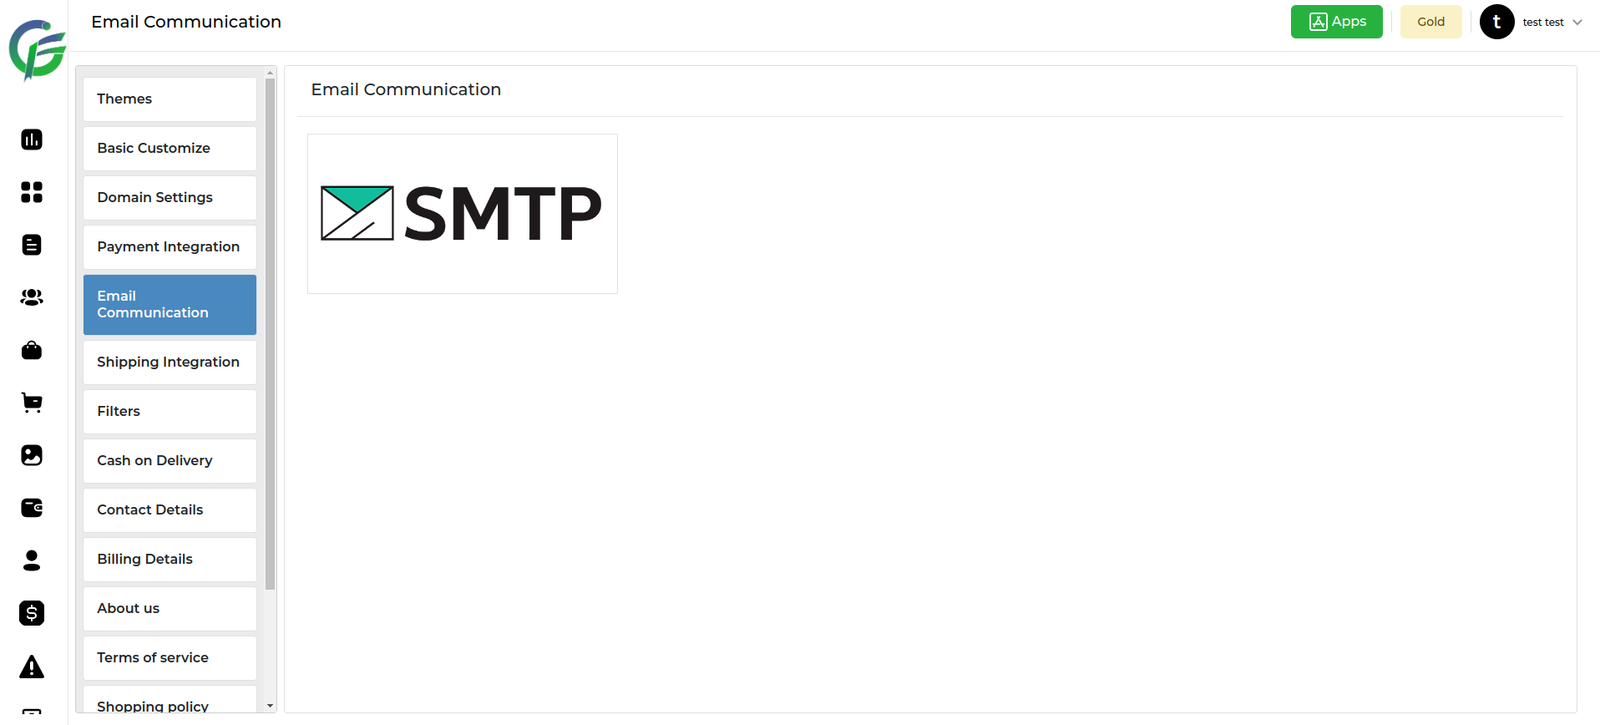
Feature Description: Verify and Connect with Custom "From Name”
- Overview:
- This feature allows users to customize the “From” name when sending emails. Users can add a personalized sender name to enhance the sender’s identity. The system verifies and connects the provided “From” name by sending a verification email using the default mail configuration.
- Usage Steps:
- Add “From” Name:
- Users enter the desired sender name in the “From” name field, providing a personalized touch to their email communications.
- Click on Verify and Connect:
- After adding the “From” name, users click on the “Verify and Connect” button to initiate the verification process.
- System Sends Verification Email:
- The system sends a verification email using the default mail configuration. This email is sent to the user’s specified email address, and it includes a verification link or code.
- User Verifies “From” Name:
- Users receive the verification email and follow the provided instructions to verify the custom “From” name. This step ensures the legitimacy of the provided sender information.
- Successful Connection:
- Upon successful verification, the user’s account is connected with the custom “From” name. Subsequent emails sent from the system will use this customized sender name.
- Add “From” Name:
- Benefits:
- Personalized Communication: Users can personalize their email communications by using a custom “From” name, creating a more engaging and branded experience for recipients.
- Verification Assurance: The verification process adds an extra layer of assurance, confirming that the provided “From” name is legitimate and can be used for sending emails.
- User Control: Users have control over their sender identity, allowing them to align email communications with their brand or individual identity.
Feature Description: Custom SMTP Configuration
- Overview:
- This feature empowers users to configure and use a custom SMTP server for sending emails. Users can input specific SMTP details, including the host, port, username, and password. Additionally, users can customize the sender email address and sender name. The system verifies the configuration upon clicking the “Verify and Connect” button.
- Configuration Steps:
- Select Custom (SMTP) Option:
- Users choose the “Custom (SMTP)” option from the email configuration settings.
- Input SMTP Details:
- Users input the following SMTP details:
- SMTP Host: The address of the SMTP server.
- SMTP Port: The port number for the SMTP server.
- SMTP Username: The username for authentication.
- SMTP Password: The password for authentication.
- Users input the following SMTP details:
- Custom Email Address:
- Users can input a custom email address from which emails will be sent using the configured SMTP server.
- Custom From Name:
- Users add a custom “From” name to personalize their sender identity.
- Click on Verify and Connect:
- Users click on the “Verify and Connect” button to initiate the verification process.
- System Verifies Configuration:
- The system uses the provided SMTP details to send a test email. It verifies the connection and authentication with the configured SMTP server.
- Successful Connection:
- Upon successful verification, the system confirms the connection to the custom SMTP server. The user’s account is now configured to send emails using the provided custom SMTP settings.
- Select Custom (SMTP) Option:
- Benefits:
- Flexibility and Control: Users have the flexibility to use their preferred SMTP server, providing control over email delivery settings.
- Customization: Custom email address and sender name allow users to personalize their email communications.
- Verification Assurance: The verification process ensures that the custom SMTP configuration is valid and operational.
